Updating a Nvidia Jetson TX1 Through Windows via VirtualBox with Jetpack
This tutorial originally appeared on Medium and is being republished here for easier, free access.
Recently I ordered the Nvidia Jetson TX1 Devkit through a very nice promotion they’re running. Upon excitedly turning it on and getting into the Ubuntu desktop, I was prompted to update Ubuntu to the latest version (as it was running 14.0.4) and clicked okay. Doing so essentially broke the device as the updated version of Ubuntu downloaded was not designed for the Jetson TX1 architecture.

The Jetson TX1 requires a special version of Ubuntu which can be installed through a program called Jetpack. The catch here is you need to run Jetpack on a separate Linux computer while the Jetson TX1 is connected via USB and in Recovery Mode. Not currently having Linux setup on any of my computers, I wanted to do this through a VM on my Windows machine.
Reading some forum posts made this sound like a difficult and whimsical process that may or may not work, but it turns out it’s actually very easy. So let’s set the record straight and walk through the steps.
Prerequisites
There are a few things you need in order to follow these instructions. The first is obviously a Jetson devkit and a Windows machine. You also need a USB to Micro USB cable.
You’ll also need VirtualBox downloaded and installed, which you can get here. Then you need to install the VirtualBox Extension Pack which is also available here.
Once you have those installed, setup a 64-bit Ubuntu VM with at least 30GB of virtual storage (the Jetpack packages can be quite large unpacked). Ubuntu ISOs can be downloaded from here. Instructions on how to do all this can be found here. Also, if you can only see 32-bit VM options when setting up a new VM, read this helpful article here.
You’ll also need to plug your Jetson TX1 into your host computer via the aforementioned USB cable. With the USB plugged in, put your Jetson TX1 into Recovery Mode by following these instructions here (they’re also in your Quick Start guide).
Finally, you need to setup the USB passthrough in VirtualBox. Select your Ubuntu VM and open its Settings panel. Go to the USB screen and hit the USB icon with a green plus next to the USB Device Filters list. If your Jetson TX1 is properly connected to your computer and in Recovery Mode, NVidia Corp. should appear on the dropdown list. Select it. If it does not appear, try the Recovery Mode instructions again.
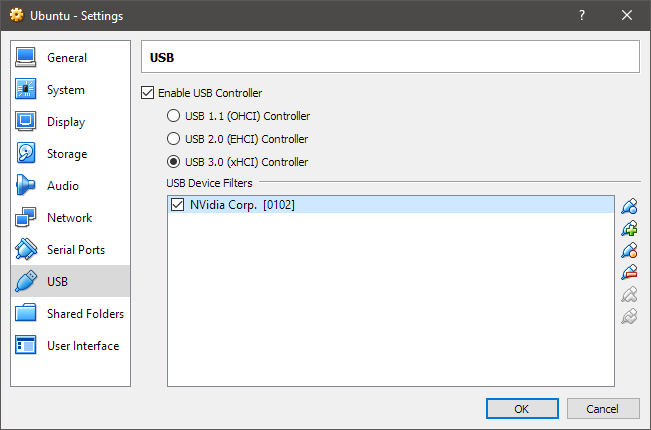
VirtualBox with USB setup
In the VM
Now, start your VM and load into Ubuntu. First, I recommend opening the Terminal and making sure the USB is setup correctly in the VM. Run the lsusb command and make sure you see NVidia Corp. listed. If it’s not listed, make sure your USB filtering is setup correctly and try restarting the VM.
If everyting looks good, open the VM’s web browser and navigate to the Jetson Download Centre. Find the latest version of Jetpack and download it. You’ll need to log in with a Nvidia Developer Program account in order to download it.
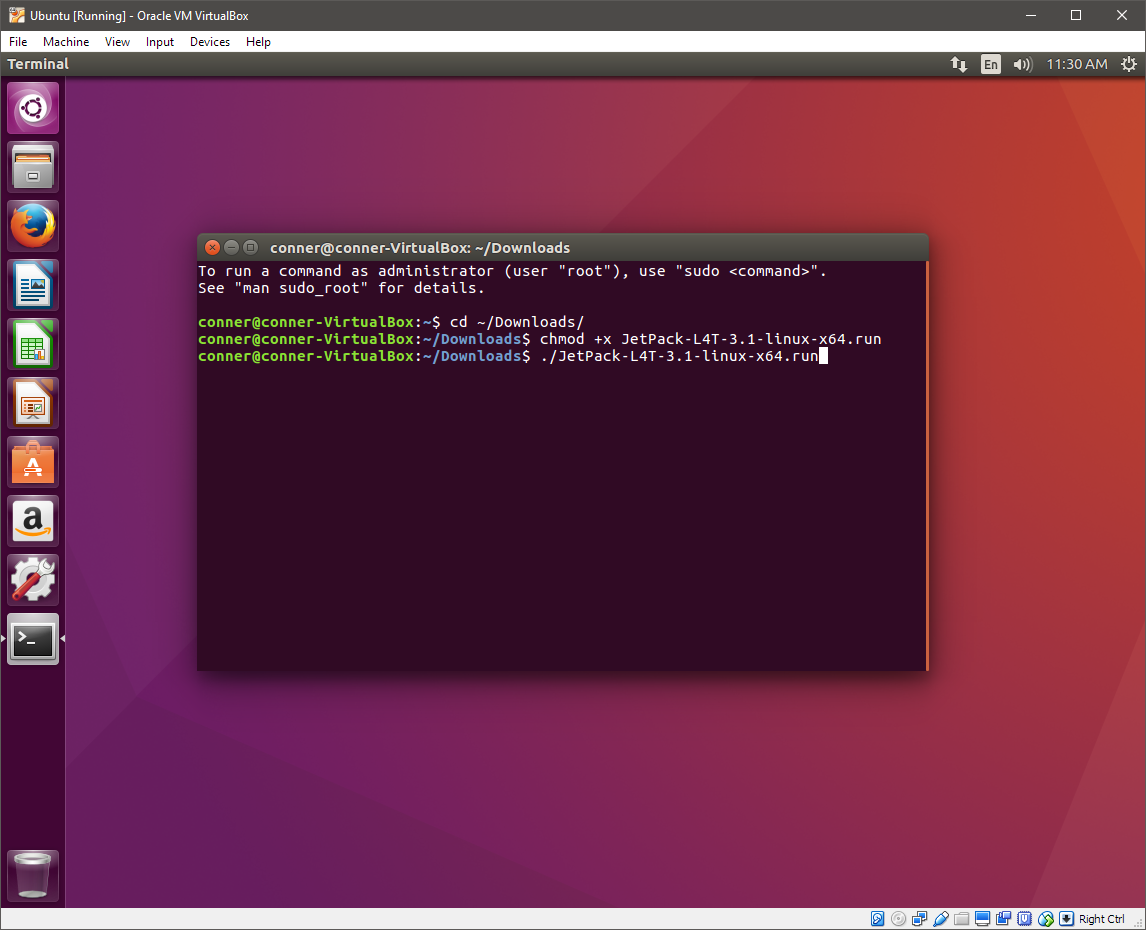
Once it’s downloaded, open Terminal and change directory to the Downloads folder. Run chmod +x [FILE] on the downloaded Jetpack file in order to give the script the correct permissions. Then run the script. From here, the installation instructions are essentially identical to every other guide on the internet.
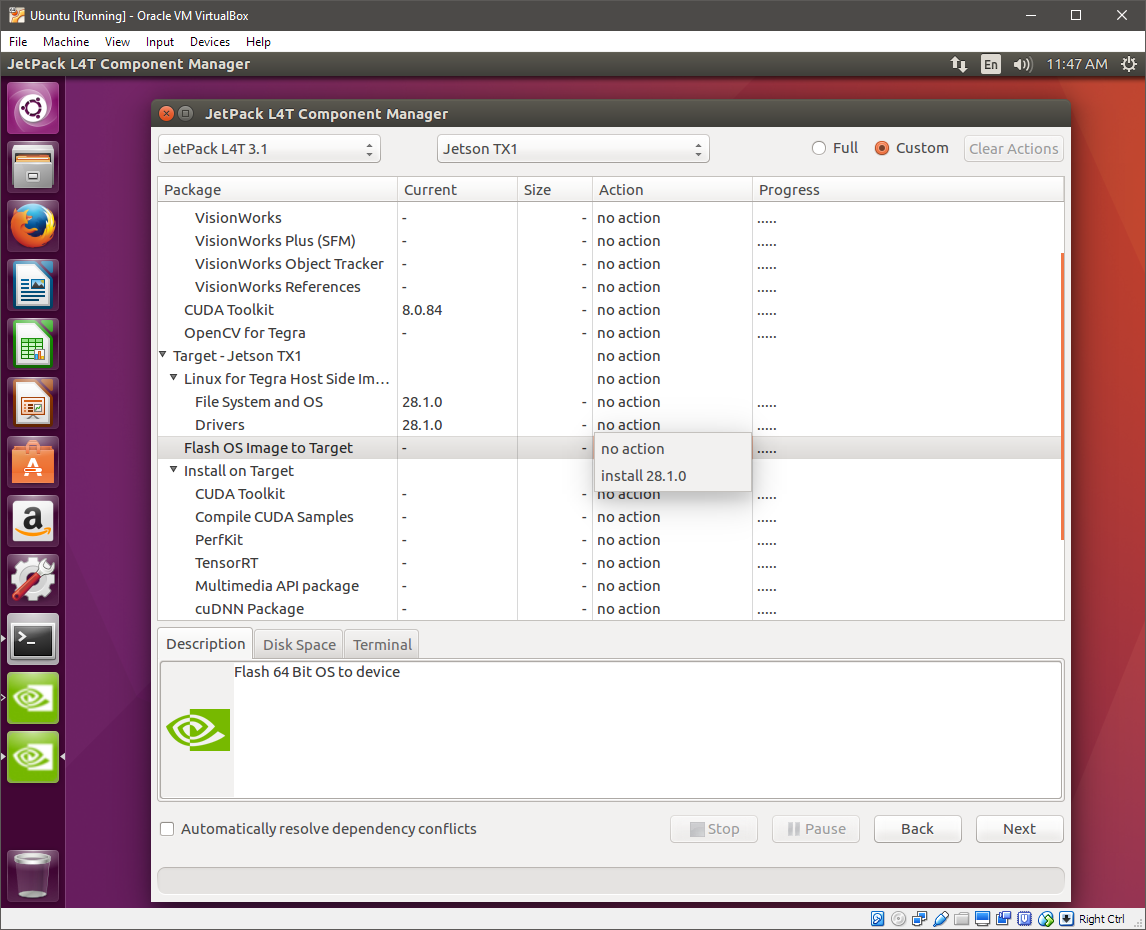
Run through the initial installer setup until you get to the JetPack Component Manager. There, first choose “Clear Actions” to unselect all the other options. We’re here to Flash OS Image to Target so find that option and click on the action column. Choose install and choose to include the dependencies. Click next then Accept the Terms and Conditions.
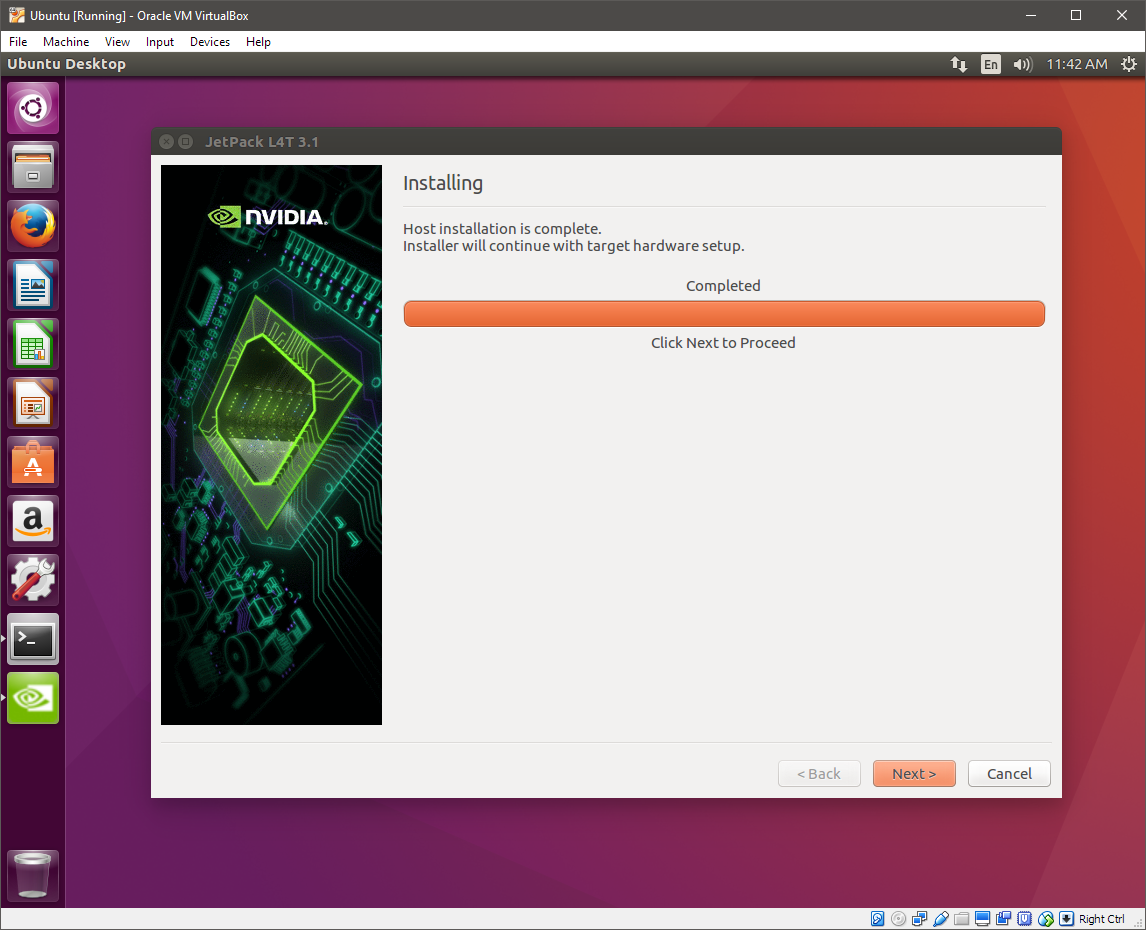
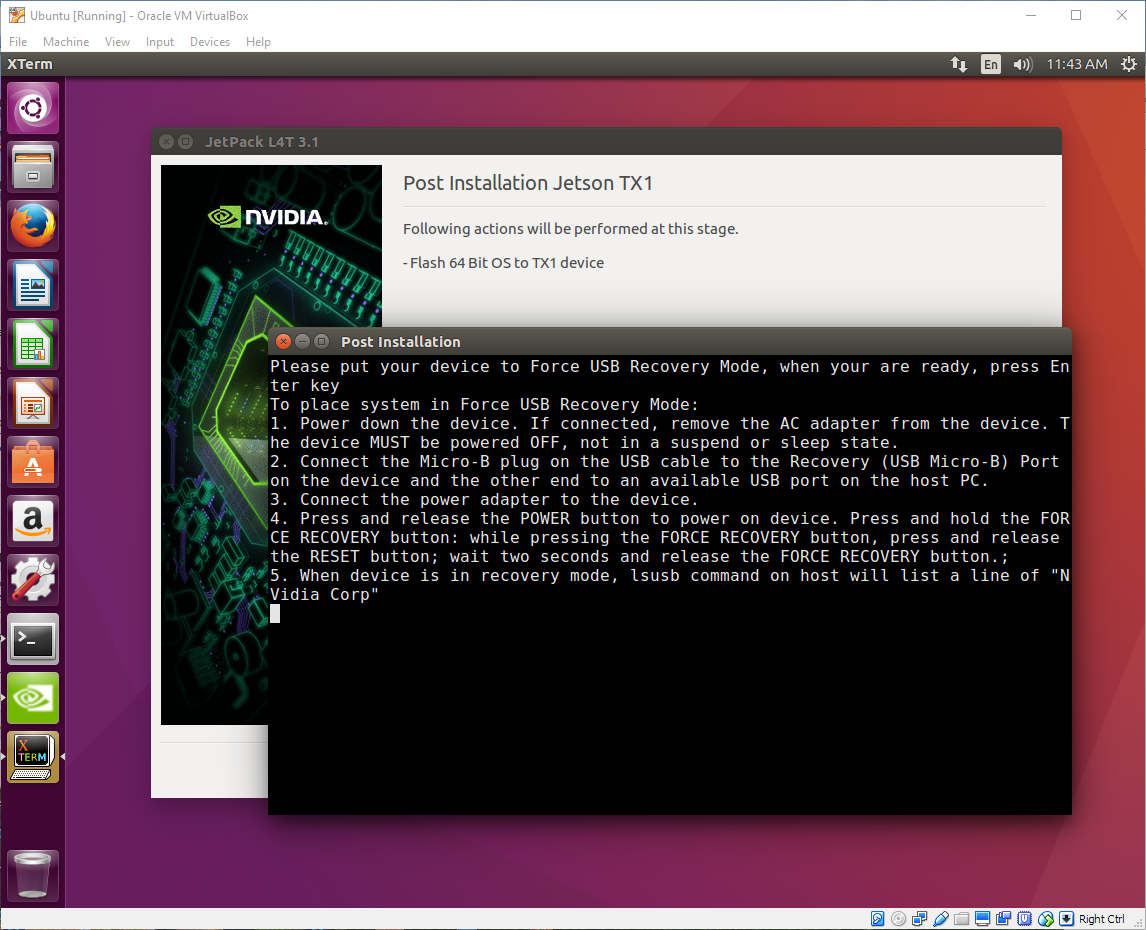
It will run download and unpack the components, then prompt you to continue. The next step will open a terminal window with instructions on how to get into Force Recovery Mode, but assuming you’ve followed the previous steps, you should just be able to hit Enter.
Now it will flash the updated OS to your Jetson TX1 and upon completion you should be good to go!
Shut down your Jetson, unplug the USB and boot back in the normal way and you should have the latest Jetson-friendly Ubuntu installed.
If you liked this you can also follow me on Twitter, check out my GitHub, and take a look at my other blog posts.
